


当孩子进入语言学习的黄金时期,我们总想为他们提供最有趣、最有效的学习材料。市面上有很多精美的闪卡,但有时候,我们手头的一些绘本、练习册或者网上找到的特定主题资源,才是孩子当下最需要、最感兴趣的内容。
与其花费时间寻找、购买,不如卷起袖子,亲手为孩子打造一套独一无二的专属闪卡!今天,我就来分享一个实用的方法,教你如何把PDF学习资料变成一张张方便携带、随时可学的闪卡。
这个方法会用到几个小工具:一个在线或本地的PDF工具(Stirling PDF),一些简单的命令行操作,以及一个我们自己写的Python小脚本。别担心,即使你不是技术大神,跟着步骤也能完成!
一、文件预处理技巧
1.1 借助 Stirling PDF将PDF文件转图片
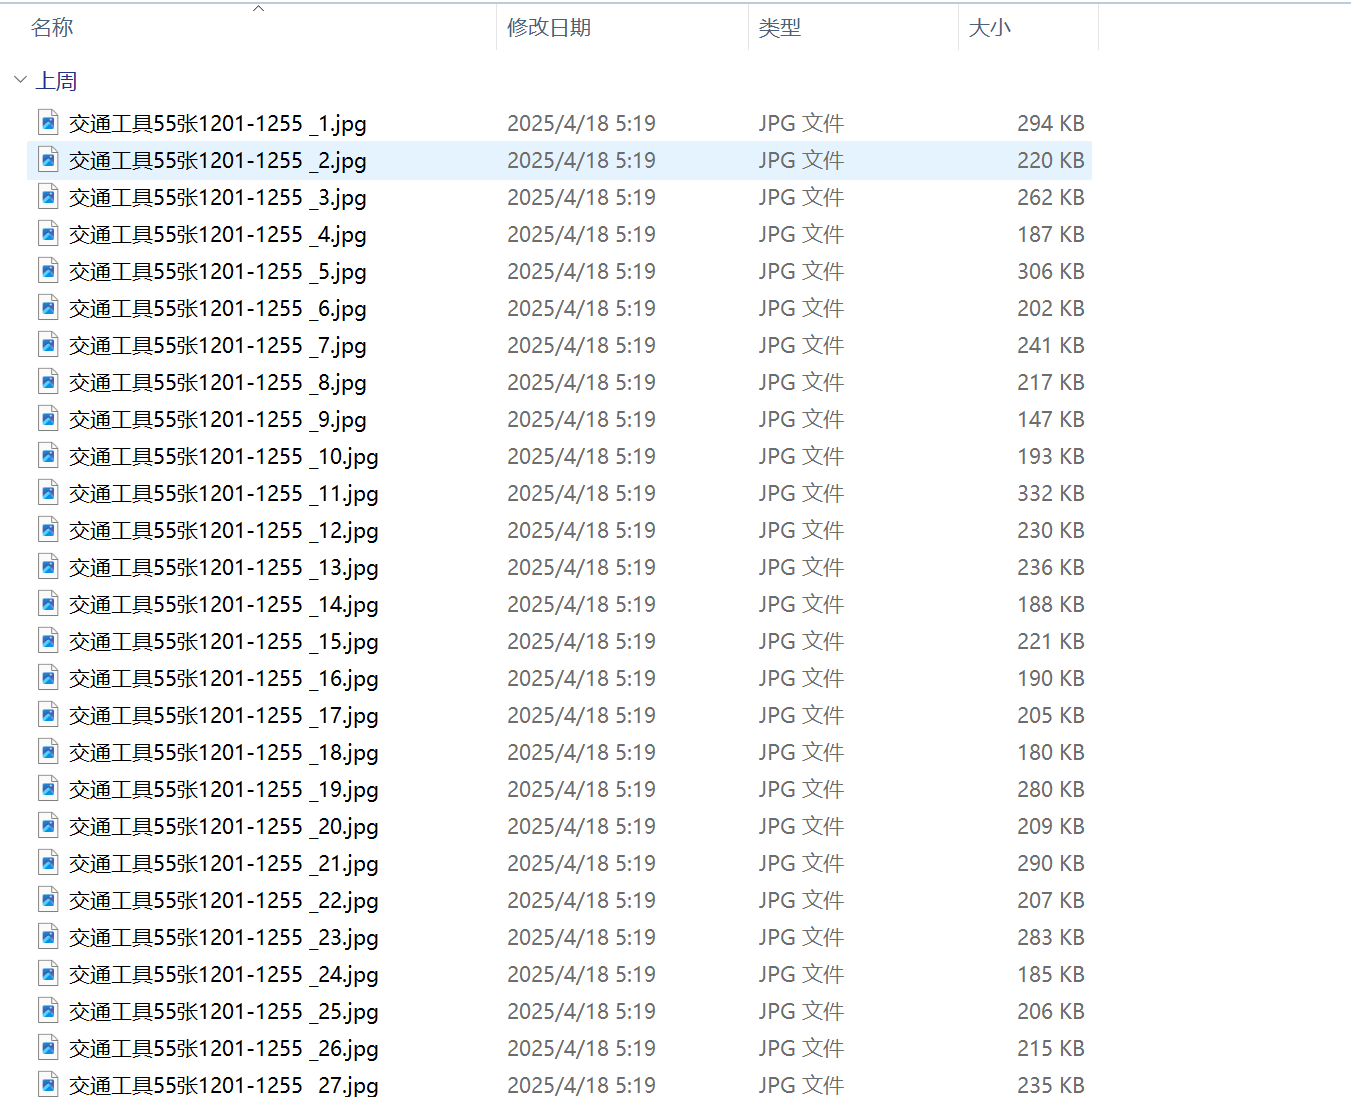
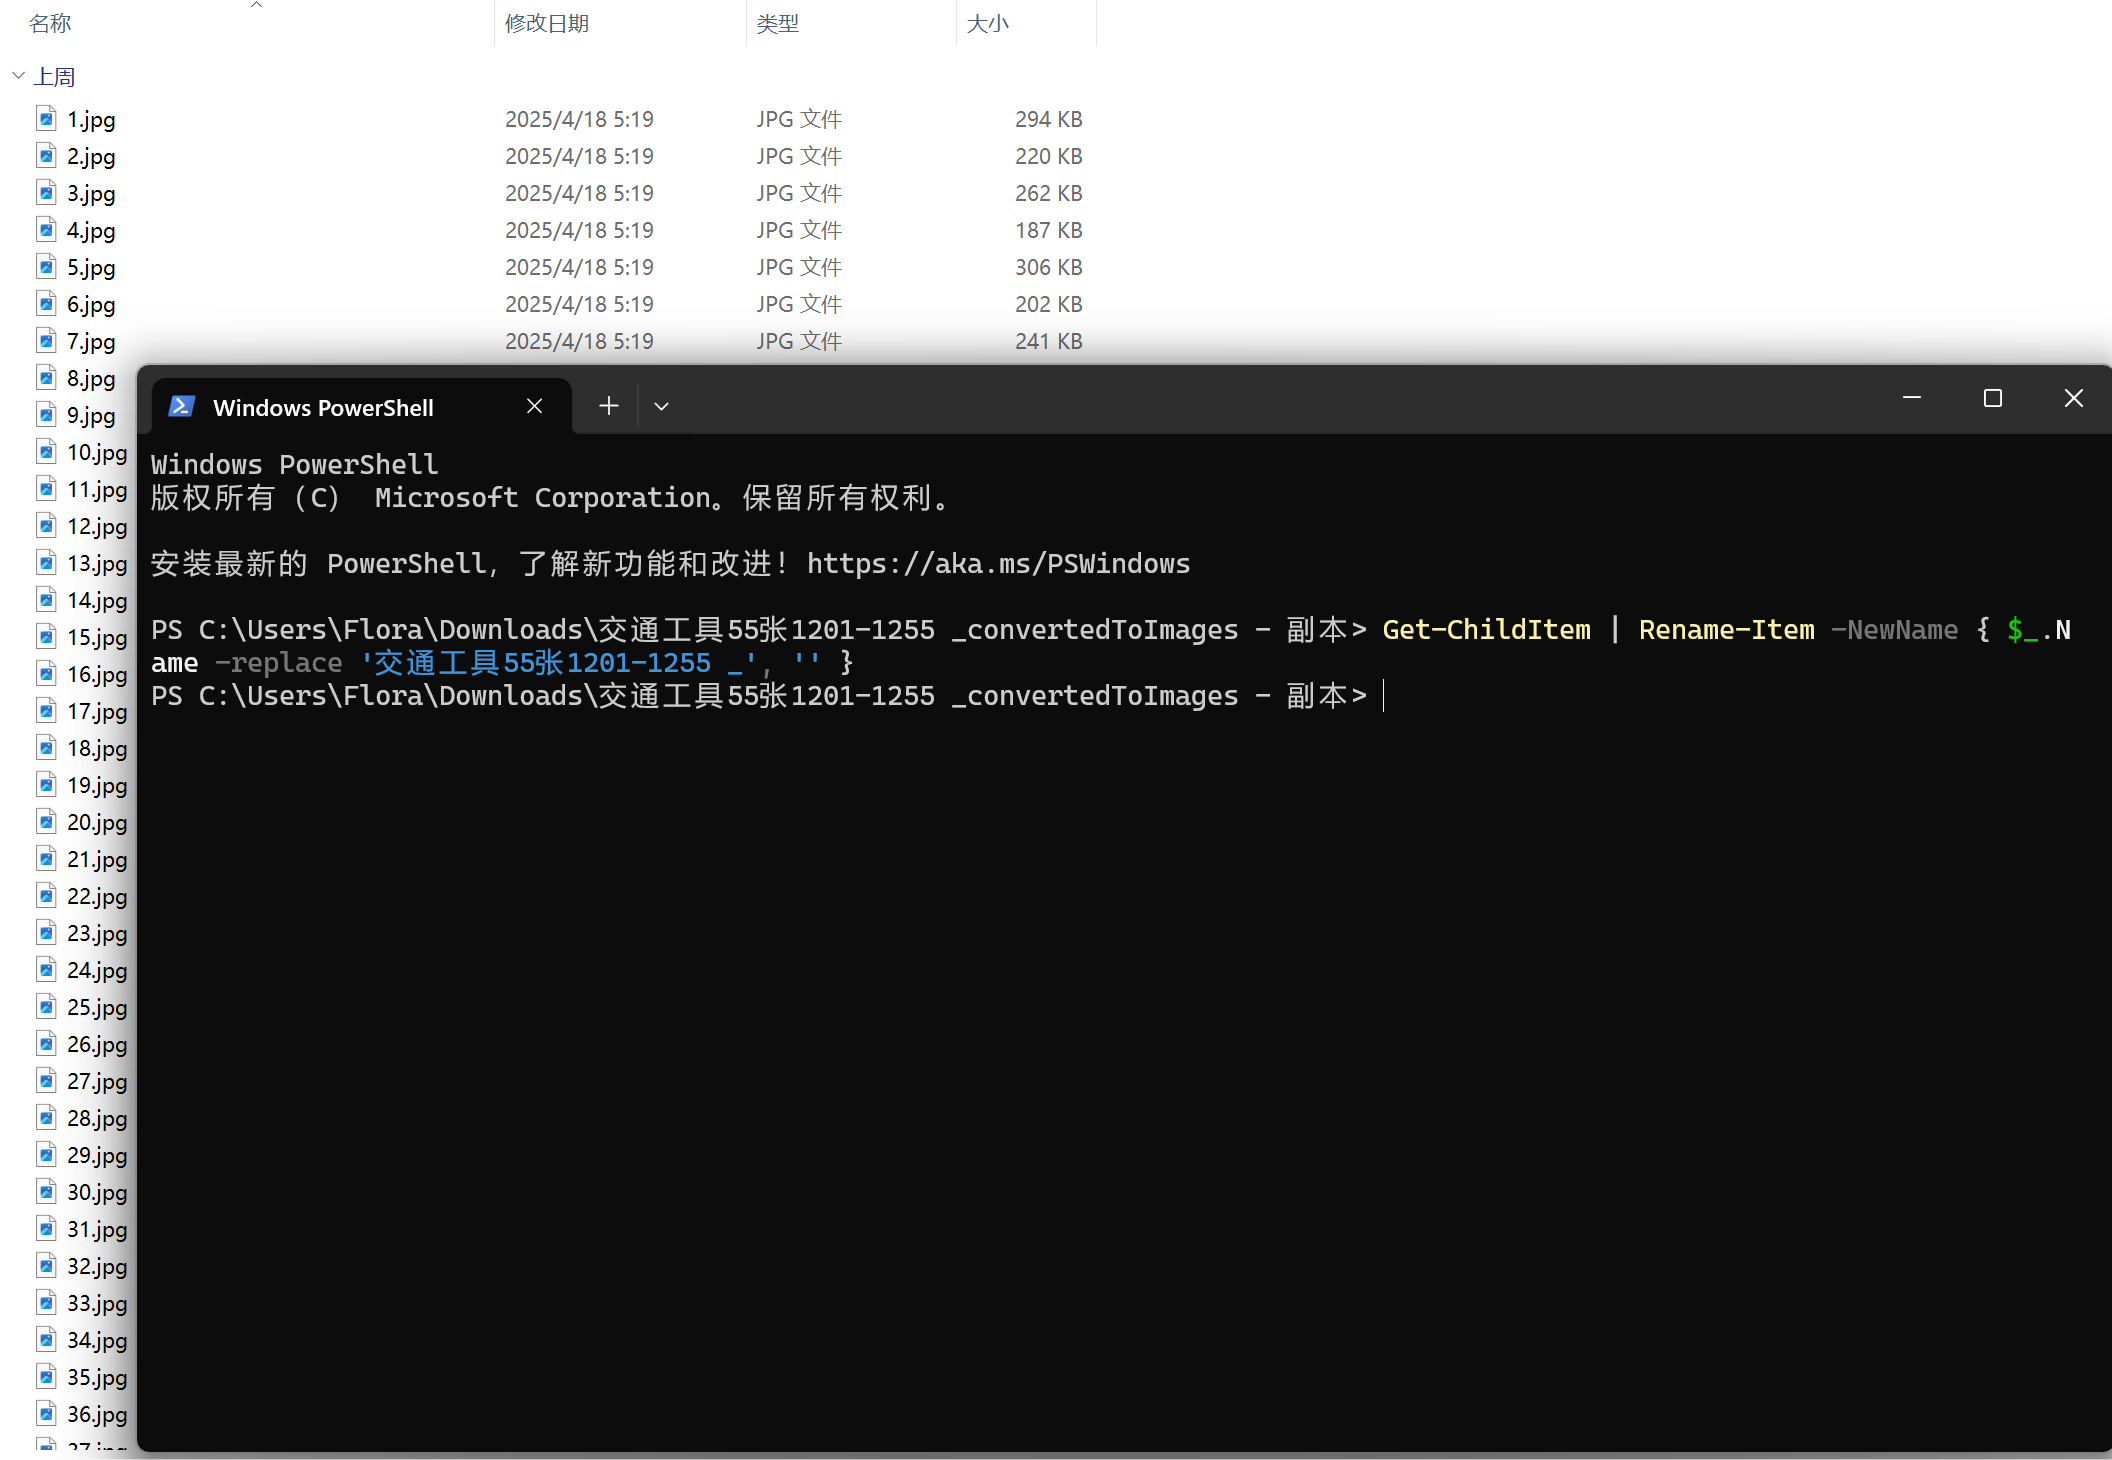
我是自己在NAS上搭建的Stirling PDF,也可以使用他人提供的Stirling PDF在线服务。转换后会自动下载一个压缩包文件,解压后里边包含了每页pdf转换后的图片。windows系统可以使用以下命令对图片重命名,便于后续处理。其他系统可自行处理。
Get-ChildItem | Rename-Item -NewName { $_.Name -replace '身体部位45张201-245_', '' }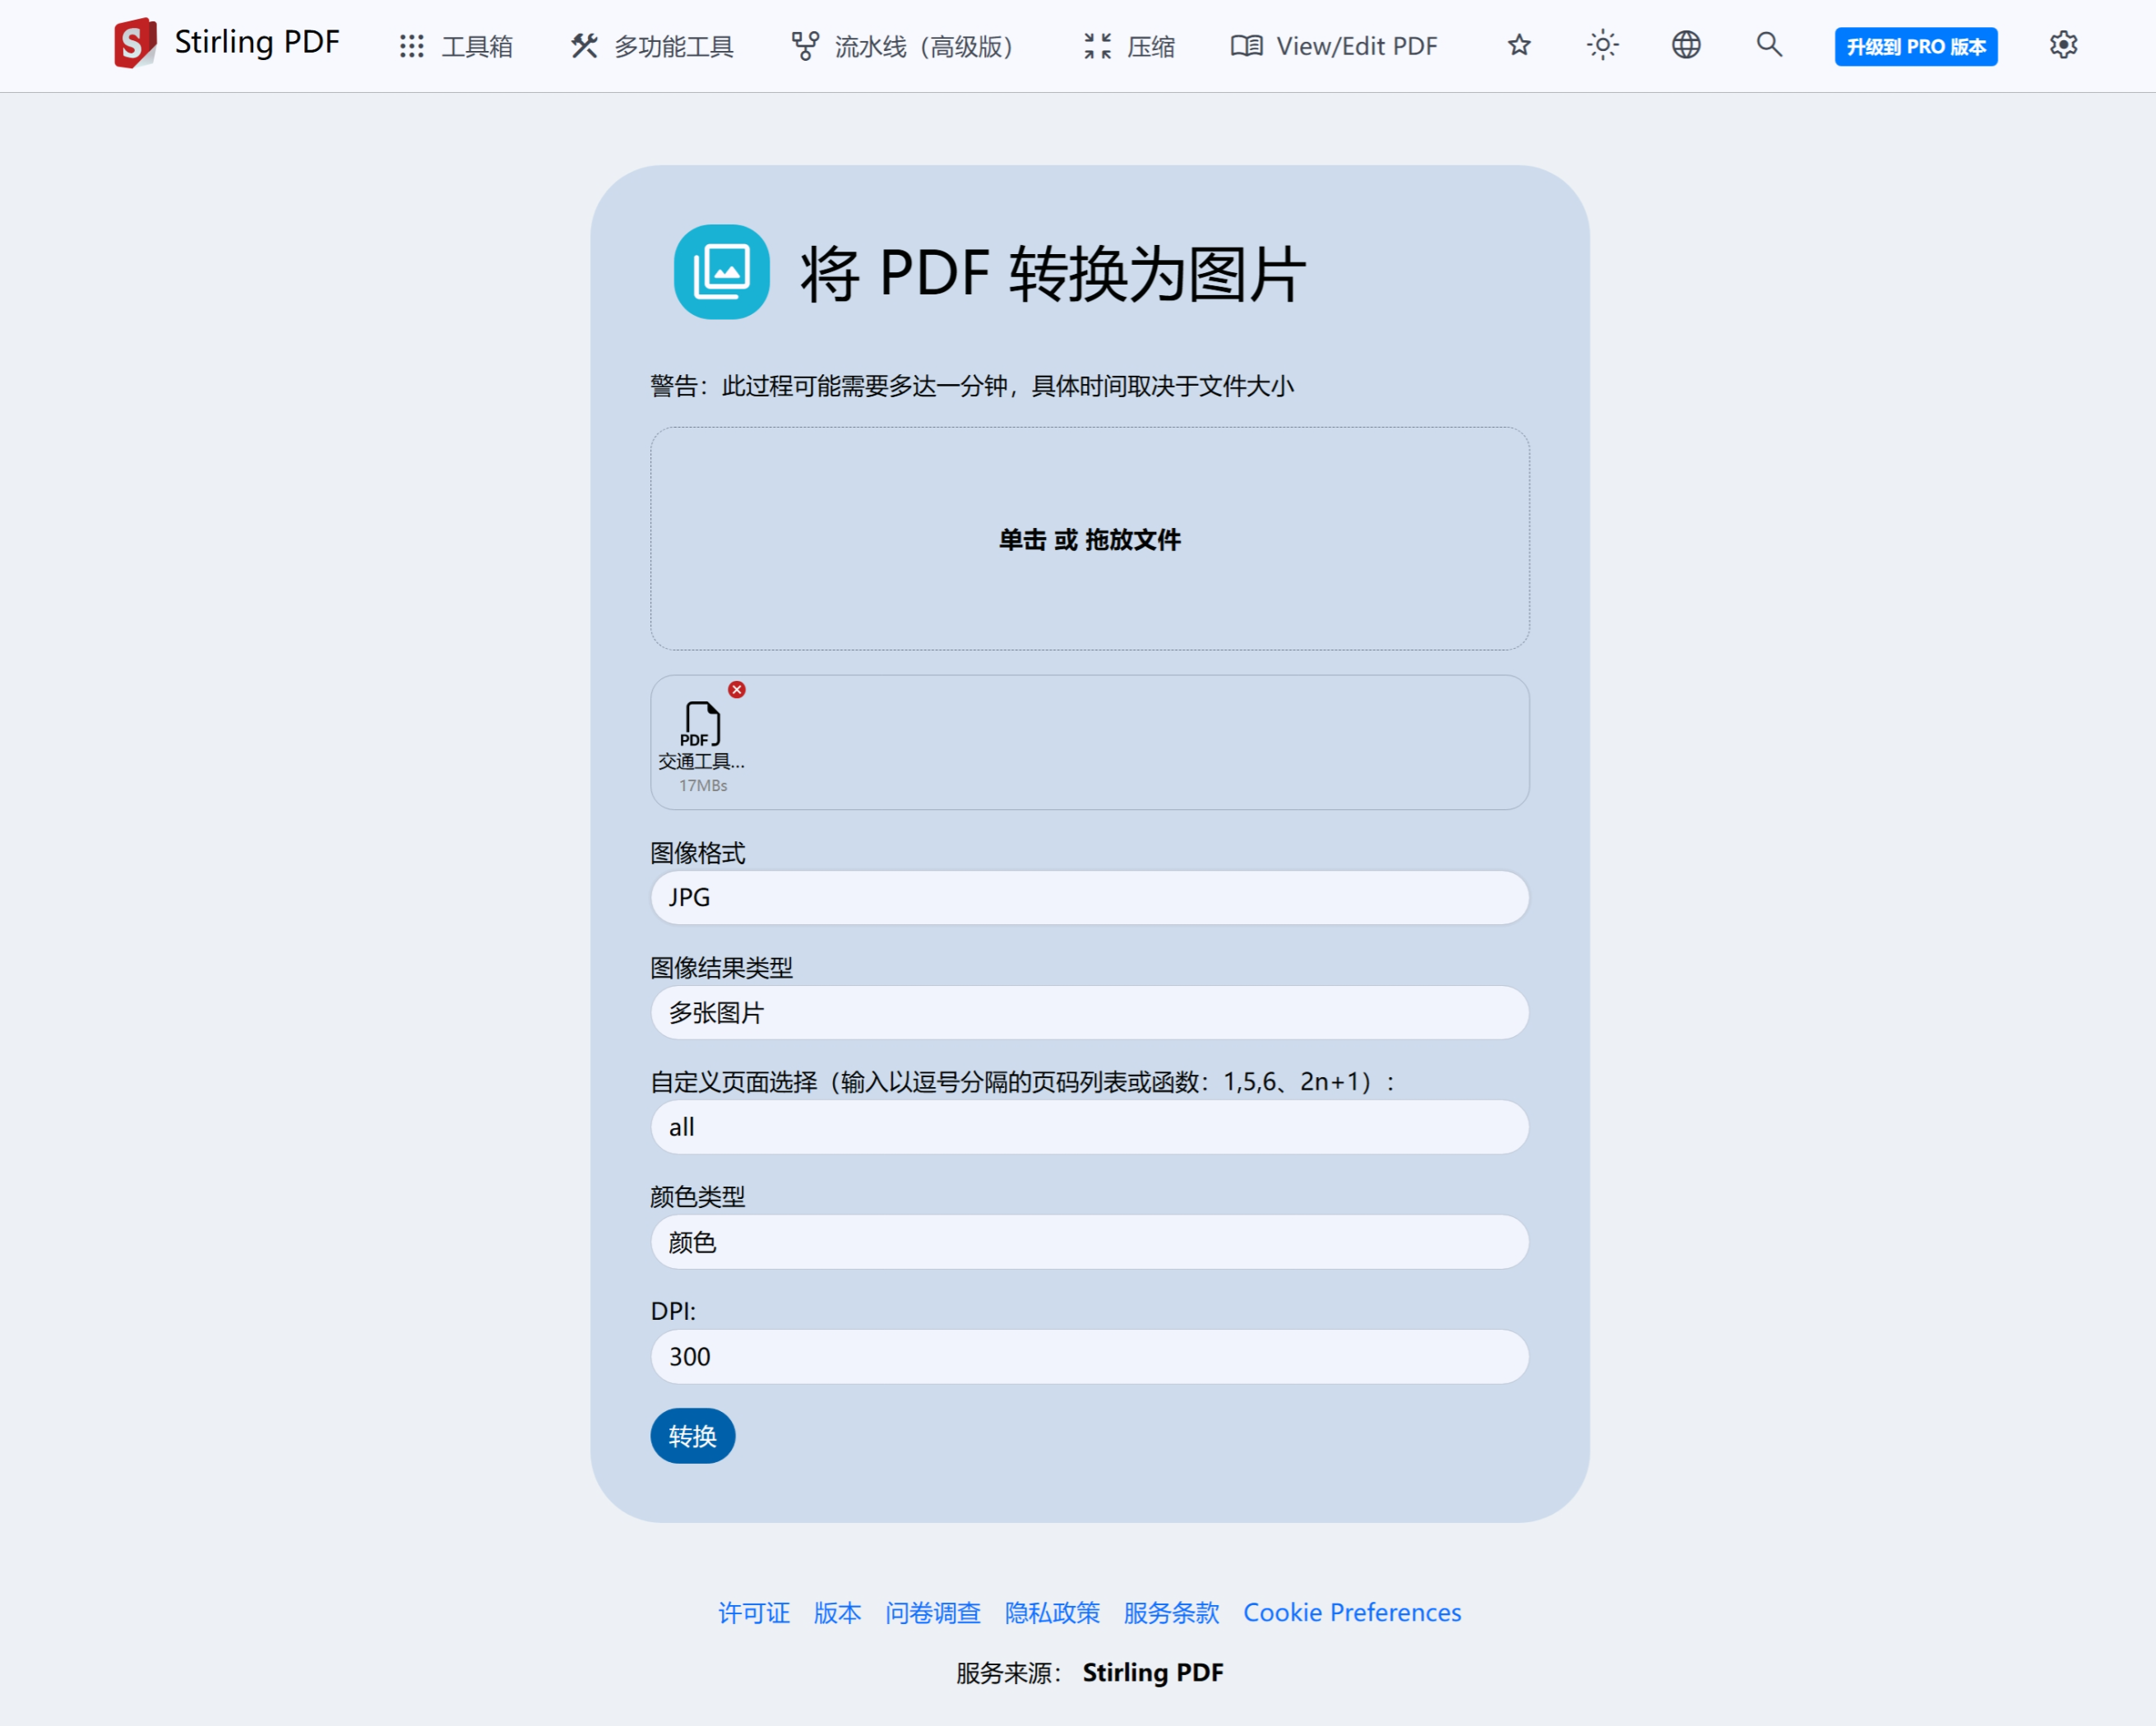
二、Python自动化闪卡生成器
2.1 环境准备
pip install Pillow reportlab
2.2 核心代码
创建一个新的文本文件,将下面的代码复制粘贴进去,并保存为 flashcard_marker.py
import os
import math
from PIL import Image, ImageDraw, ImageFont
from reportlab.pdfgen import canvas
from reportlab.lib.pagesizes import A4
def create_flashcards(input_dir, output_dir, cols=2, rows=5):
# 确保输出目录存在
if not os.path.exists(output_dir):
os.makedirs(output_dir)
print(f"创建输出目录: {output_dir}")
# 获取所有jpg图片并按数字排序
image_files = [f for f in os.listdir(input_dir) if f.endswith('.jpg')]
image_files.sort(key=lambda x: int(os.path.splitext(x)[0]))
print(f"找到 {len(image_files)} 张图片")
# A4纸尺寸(像素,300DPI)
a4_width, a4_height = 2480, 3508
# 页面距 - 30像素
page_margin = 30
# 卡片间距 - 20像素
card_spacing = 50
# 计算可用区域
usable_width = a4_width - 2 * page_margin
usable_height = a4_height - 2 * page_margin
# 固定卡片尺寸为744×1038像素
card_width = 1038
card_height = 744
# 检查卡片是否能放入页面
max_cols = (usable_width + card_spacing) // (card_width + card_spacing)
max_rows = (usable_height + card_spacing) // (card_height + card_spacing)
if max_cols < cols or max_rows < rows:
print(f"警告: 卡片尺寸太大,无法按照 {cols}列{rows}行 排列。最大可放置 {max_cols}列{max_rows}行。")
cols = min(cols, max_cols)
rows = min(rows, max_rows)
print(f"调整为 {cols}列{rows}行 排列。")
# 背面没有裁切线和边框
back_card_width = card_width
back_card_height = card_height
# 计算需要多少页
cards_per_page = cols * rows
total_cards = len(image_files)
total_pages = math.ceil(total_cards / (cards_per_page * 2)) # 每张卡片有正反两面
print(f"每页 {cards_per_page} 张卡片,共需 {total_pages} 页")
print(f"卡片尺寸: {card_width}x{card_height} 像素")
# 存储所有生成的图片路径
generated_images = []
# 尝试加载字体,如果失败则使用默认字体
try:
# 尝试加载Arial Bold字体,用于序号
font = ImageFont.truetype("arial.ttf", 36, encoding="unic")
except IOError:
# 如果找不到指定字体,使用默认字体
font = ImageFont.load_default()
print("警告: 无法加载Arial字体,使用默认字体")
# 定义去除水印的函数
def remove_watermark(img):
# 获取图片尺寸
width, height = img.size
# 创建绘图对象
draw = ImageDraw.Draw(img)
# 用白色矩形覆盖右下角的水印区域 (220px*220px)
draw.rectangle([(width-220, height-220), (width, height)], fill="white")
# 用白色矩形覆盖左下角的水印区域 (400px*120px)
draw.rectangle([(0, height-120), (400, height)], fill="white")
return img
for page in range(total_pages):
print(f"处理第 {page+1}/{total_pages} 页...")
# 创建正面和背面的空白图片
front_image = Image.new('RGB', (a4_width, a4_height), 'white')
back_image = Image.new('RGB', (a4_width, a4_height), 'white')
# 创建绘图对象
front_draw = ImageDraw.Draw(front_image)
back_draw = ImageDraw.Draw(back_image)
# 放置图片
for row in range(rows):
for col in range(cols):
# 计算当前卡片的索引
card_index = page * cards_per_page + row * cols + col
# 计算图片在A4纸上的位置(考虑页面距、1像素边框和卡片间距)
# 在可用区域内居中显示
inner_margin_x = (usable_width - (card_width + 2) * cols - card_spacing * (cols - 1)) // 2
inner_margin_y = (usable_height - (card_height + 2) * rows - card_spacing * (rows - 1)) // 2
front_x = page_margin + inner_margin_x + col * (card_width + 2 + card_spacing)
front_y = page_margin + inner_margin_y + row * (card_height + 2 + card_spacing)
# 背面位置计算
back_x = page_margin + inner_margin_x + (cols - 1 - col) * (back_card_width + 2 + card_spacing) # 水平翻转位置
back_y = page_margin + inner_margin_y + row * (back_card_height + 2 + card_spacing)
# 正面图片 (奇数索引: 1.jpg, 3.jpg, ...)
front_img_index = card_index * 2
if front_img_index < total_cards:
front_img_path = os.path.join(input_dir, image_files[front_img_index])
try:
img = Image.open(front_img_path)
# 去除水印
img = remove_watermark(img)
img = img.resize((card_width, card_height))
front_image.paste(img, (front_x, front_y))
# 绘制1像素灰色边框
front_draw.rectangle(
[(front_x-1, front_y-1), (front_x+card_width, front_y+card_height)],
outline='gray', width=1
)
# 在右下角添加序号
card_number = front_img_index // 2 + 1 # 从1开始的序号
number_text = str(card_number)
# 计算序号位置 - 距离右边距和下边距都为66像素
text_x = front_x + card_width - 66
text_y = front_y + card_height - 66
# 绘制白色背景确保序号可见
# 使用getbbox或者直接指定一个固定大小的背景区域
text_bbox = font.getbbox(number_text)
text_width = text_bbox[2] - text_bbox[0]
text_height = text_bbox[3] - text_bbox[1]
front_draw.rectangle(
[(text_x - 5, text_y - 5), (text_x + text_width + 5, text_y + text_height + 5)],
fill="white"
)
# 绘制序号
front_draw.text((text_x, text_y), number_text, fill="black", font=font)
print(f" 放置正面图片: {image_files[front_img_index]} (序号: {card_number})")
except Exception as e:
print(f" 无法处理图片 {image_files[front_img_index]}: {e}")
# 背面图片 (偶数索引: 2.jpg, 4.jpg, ...)
back_img_index = card_index * 2 + 1
if back_img_index < total_cards:
back_img_path = os.path.join(input_dir, image_files[back_img_index])
try:
img = Image.open(back_img_path)
# 去除水印
img = remove_watermark(img)
img = img.resize((back_card_width, back_card_height))
back_image.paste(img, (back_x, back_y))
# 背面不添加边框
print(f" 放置背面图片: {image_files[back_img_index]}")
except Exception as e:
print(f" 无法处理图片 {image_files[back_img_index]}: {e}")
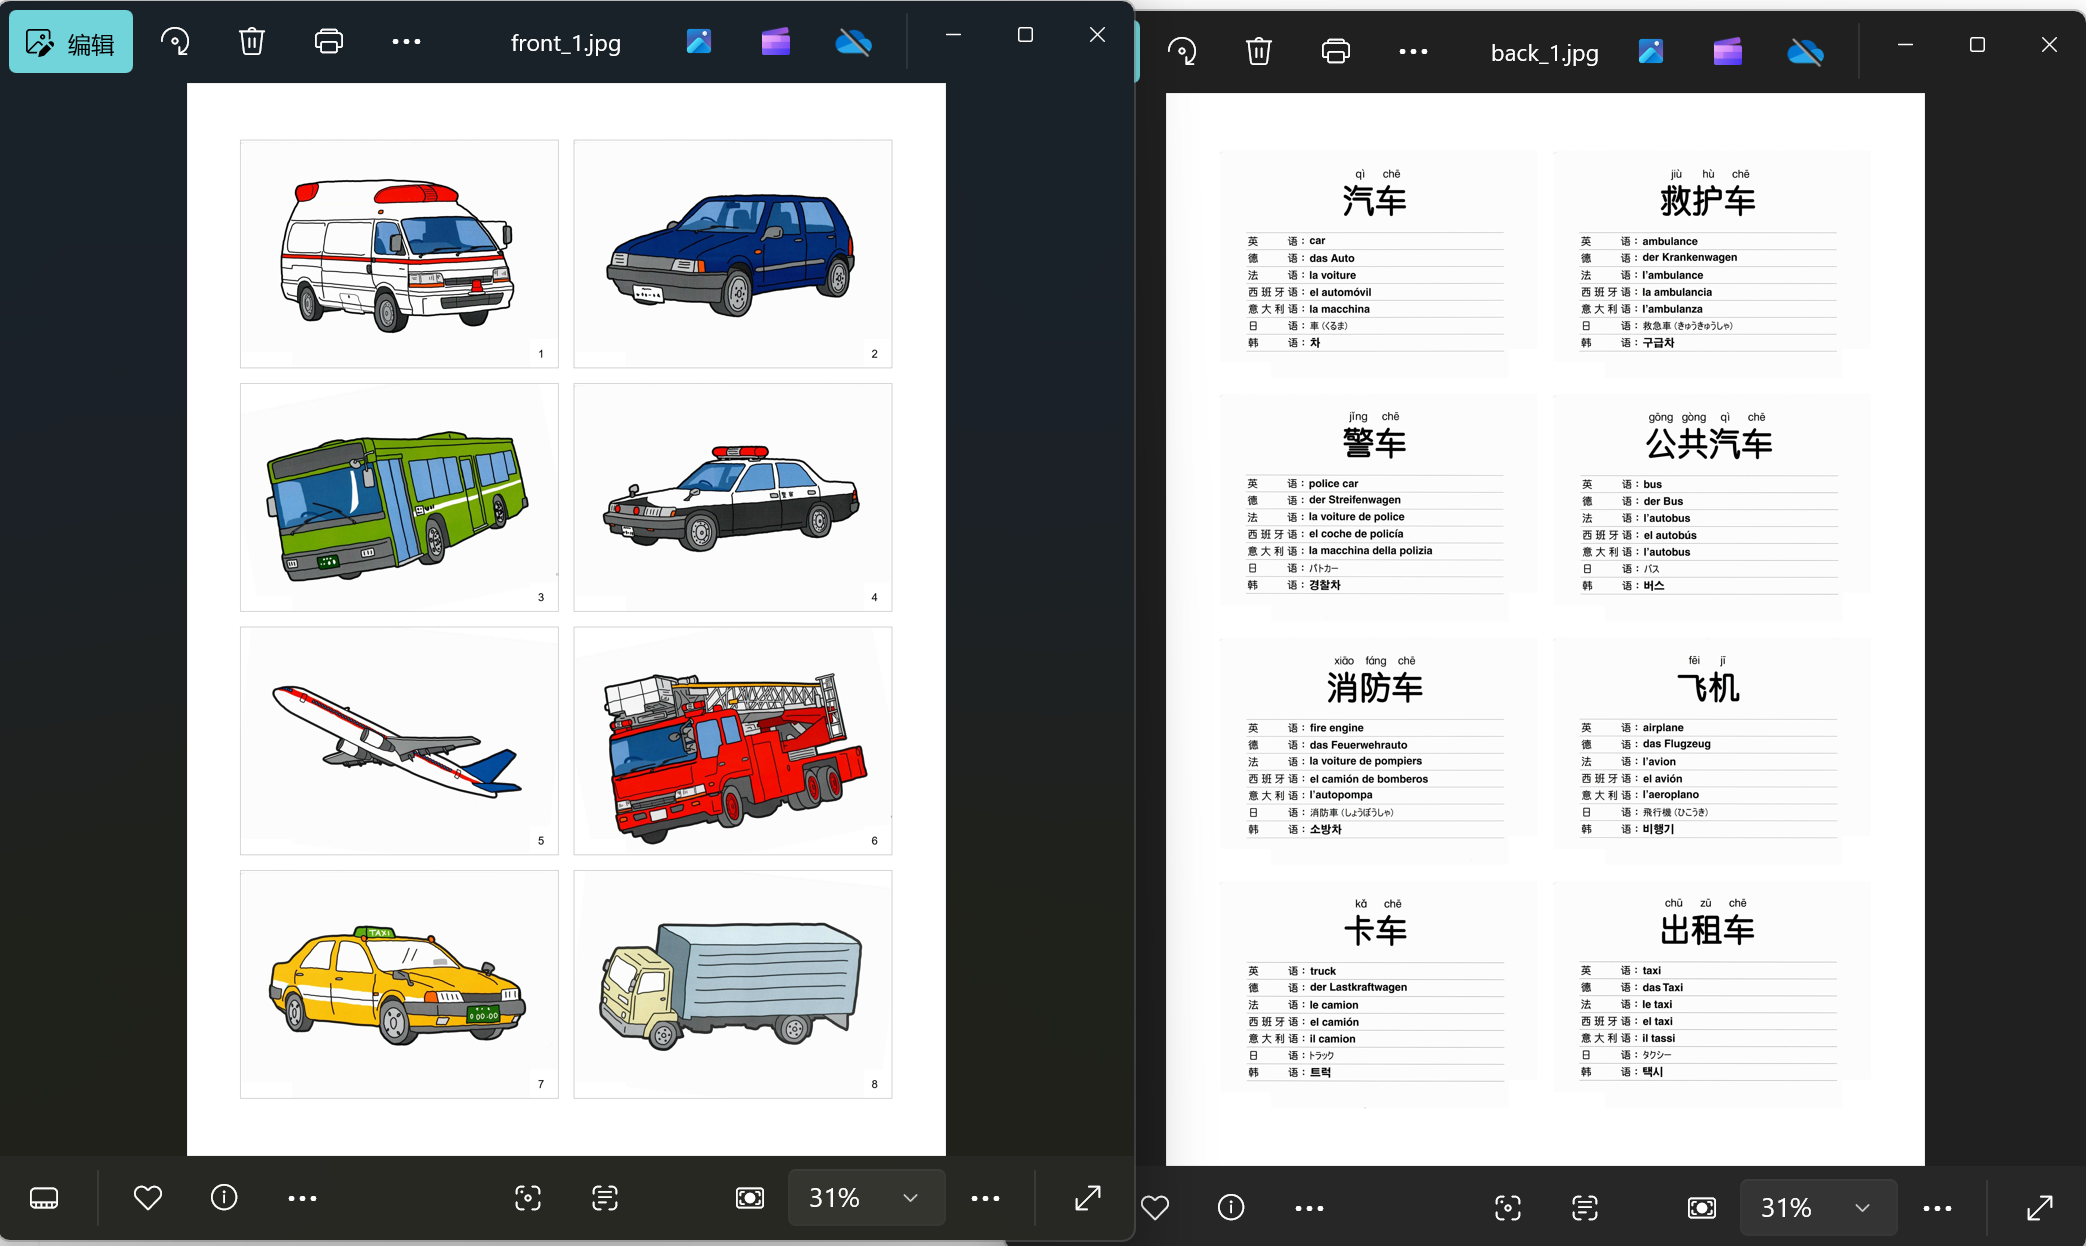
# 保存正面和背面图片
front_path = os.path.join(output_dir, f'front_{page+1}.jpg')
back_path = os.path.join(output_dir, f'back_{page+1}.jpg')
front_image.save(front_path, quality=95)
back_image.save(back_path, quality=95)
print(f" 保存页面: front_{page+1}.jpg 和 back_{page+1}.jpg")
# 添加到生成的图片列表
generated_images.append(front_path)
generated_images.append(back_path)
# 如果只有一页,则直接命名为front.jpg和back.jpg
if total_pages == 1:
front_old = os.path.join(output_dir, 'front_1.jpg')
front_new = os.path.join(output_dir, 'front.jpg')
back_old = os.path.join(output_dir, 'back_1.jpg')
back_new = os.path.join(output_dir, 'back.jpg')
os.rename(front_old, front_new)
os.rename(back_old, back_new)
print("重命名为 front.jpg 和 back.jpg")
# 更新生成的图片列表中的路径
generated_images = [front_new, back_new]
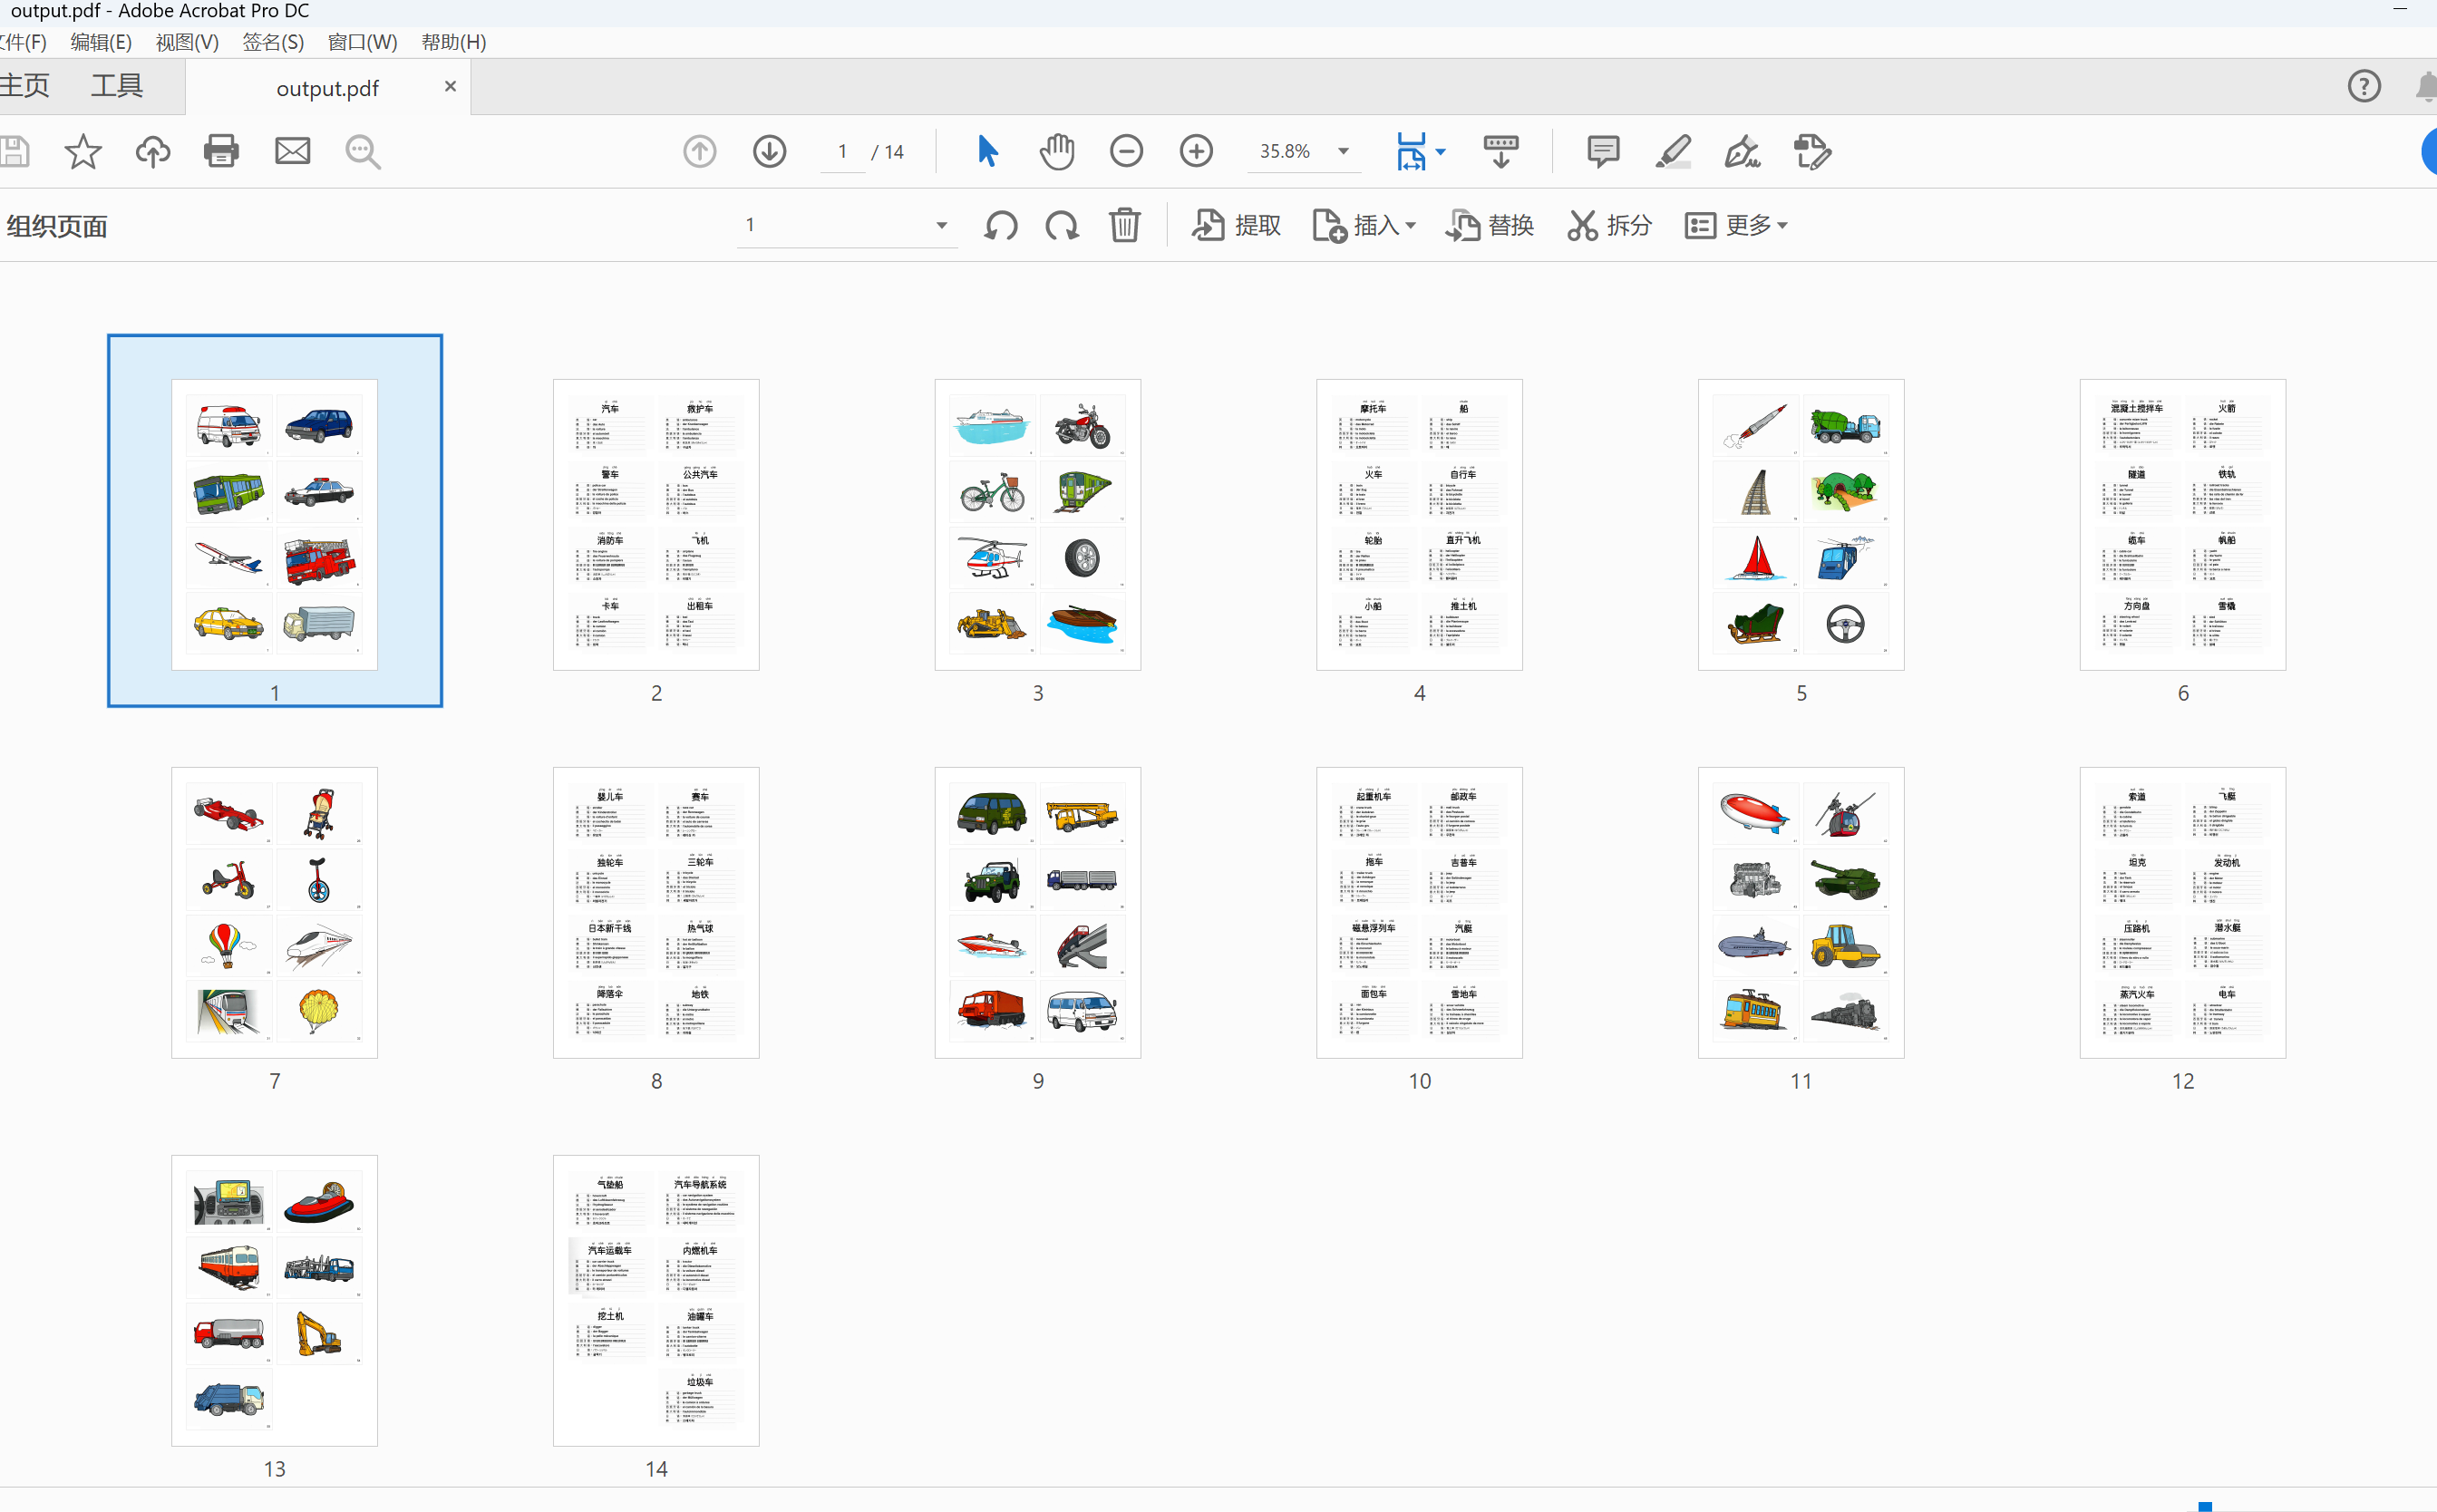
# 创建PDF文件
create_pdf(generated_images, os.path.join(output_dir, 'output.pdf'))
print(f"完成! 已生成 {total_pages} 页闪卡图片,共处理 {total_cards} 张图片")
print(f"所有图片已合并到 {os.path.join(output_dir, 'output.pdf')}")
def create_pdf(image_paths, output_path):
"""将多张图片合并到一个PDF文件中"""
print("正在创建PDF文件...")
# 获取第一张图片的尺寸作为PDF页面尺寸
first_img = Image.open(image_paths[0])
width, height = first_img.size
# 创建PDF文件
c = canvas.Canvas(output_path, pagesize=(width, height))
# 添加每张图片作为一个页面
for img_path in image_paths:
img = Image.open(img_path)
c.drawImage(img_path, 0, 0, width, height)
c.showPage()
# 保存PDF
c.save()
print(f"PDF文件已保存: {output_path}")
if __name__ == "__main__":
input_dir = "input_images"
output_dir = "output_pages"
print(f"开始处理闪卡生成...")
create_flashcards(input_dir, output_dir)如何使用脚本:
创建文件夹: 在你的电脑上选择一个位置,创建一个主文件夹(比如 FlashcardProject)。在这个主文件夹里再创建两个子文件夹:input_images 和 output_pages。
放入图片: 将你在第二步中重命名好的 1.jpg, 2.jpg, 3.jpg 等文件全部复制或移动到 input_images 文件夹中。
放入脚本: 将你刚才保存的 flashcard_marker.py 文件也放到主文件夹 FlashcardProject 中(与 input_images 和 output_pages 平级)。
运行脚本: 打开命令行或终端,进入主文件夹 FlashcardProject。然后运行Python脚本:
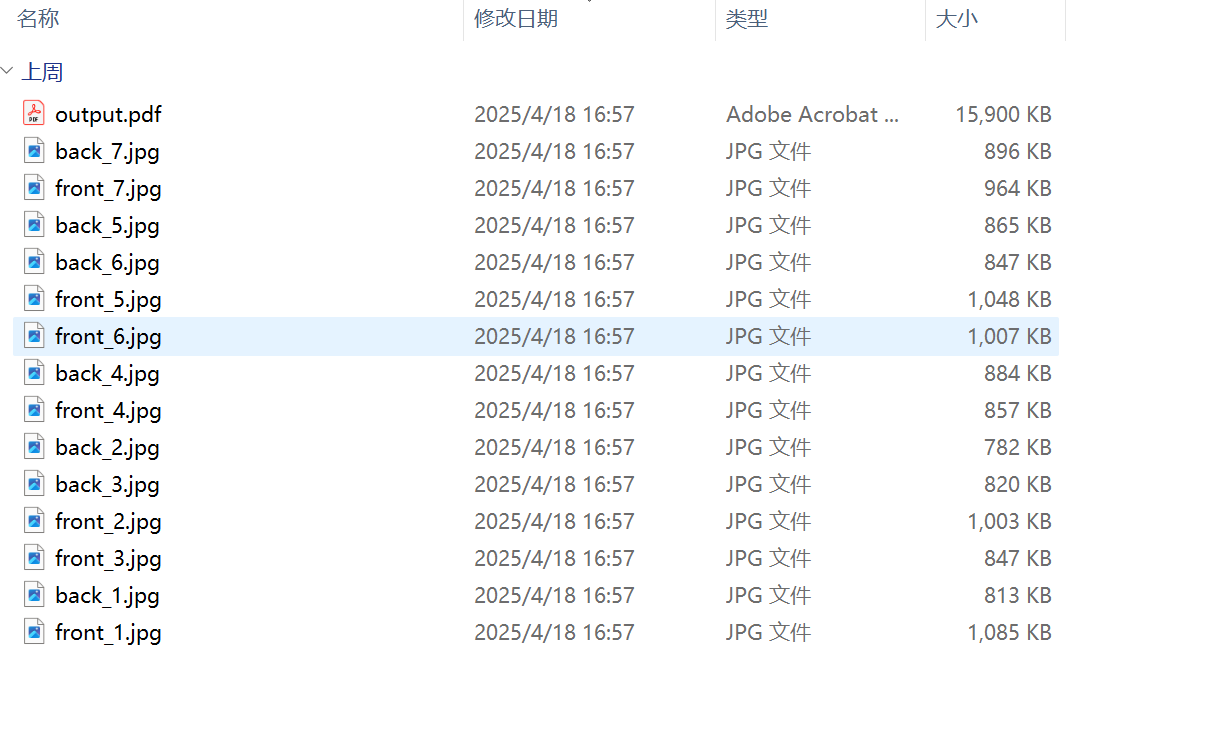
python flashcard_marker.py检查输出: 脚本运行完成后,output_pages 文件夹里就会生成一系列名为 front_1.jpg, back_1.jpg及output.pdf 等等的文件。这些就是排版好的A4打印文件。
评论区